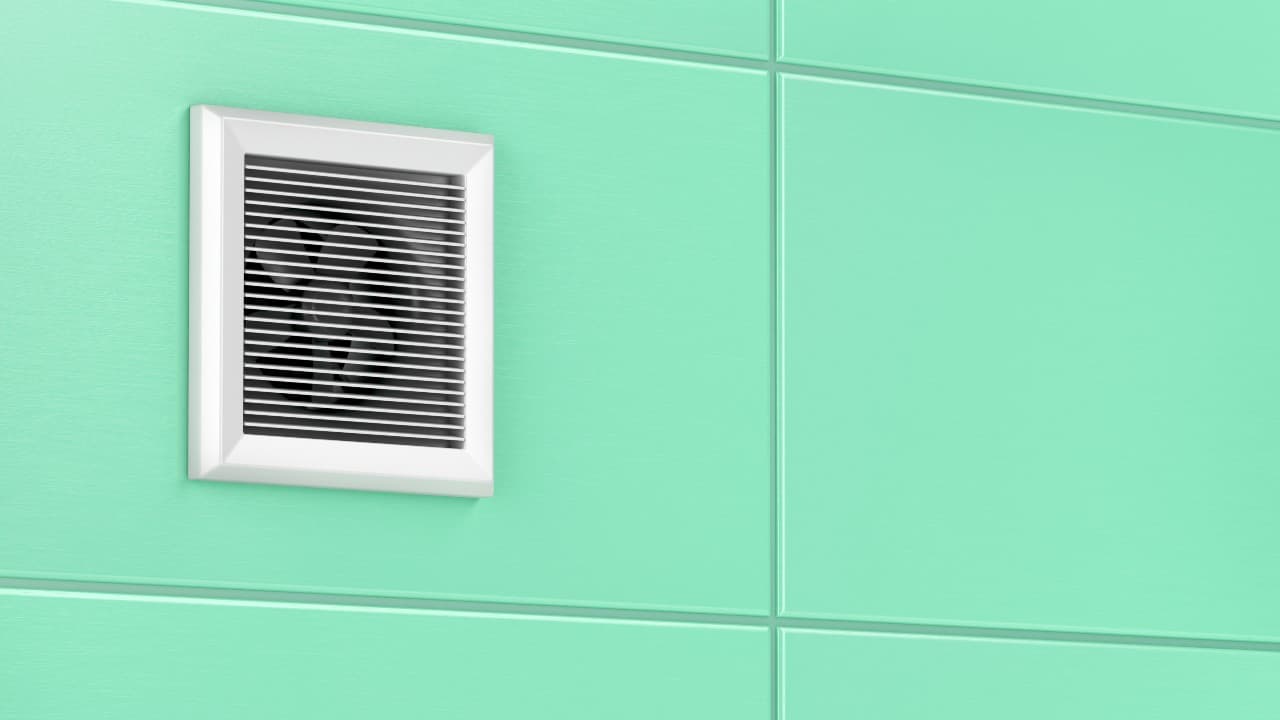
You are right to feel concerned if you’ve noticed water dripping from your bathroom exhaust fan.
This kind of appliance usually vents humid air to the roof, which is enough of a reason for you to immediately investigate the leaking problem.
Ignoring it is definitely not something you want to do – repairing water damage can be incredibly expensive.
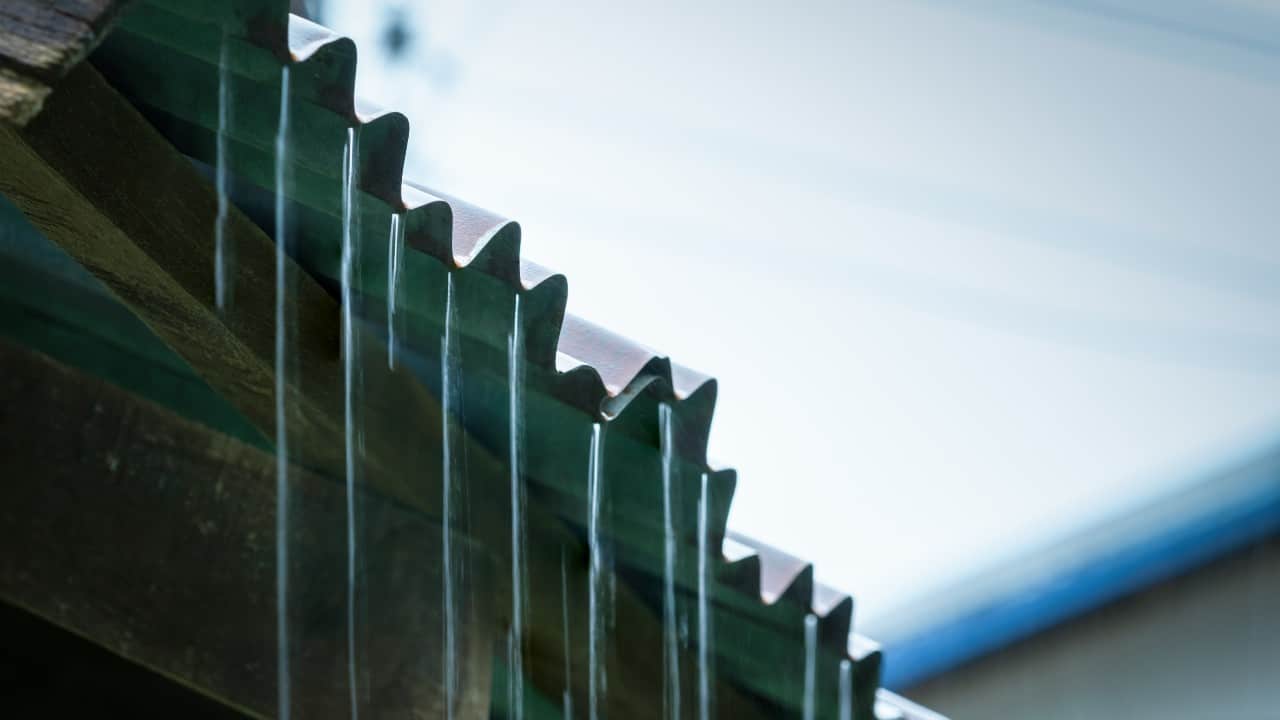
A bath vent fan that leaks whenever it’s raining is typically an indication that there’s an issue with the flashing or the vent cap on your roof.
To prevent the water from coming in from the exterior, these will have to be repaired or replaced.
Contents
5 Reasons Why Your Bathroom Fan Leaks When it Rains
A leaky bathroom exhaust fan is definitely not a normal thing. There are several different reasons why this may be happening. Here are the most common ones:
1. Condensation
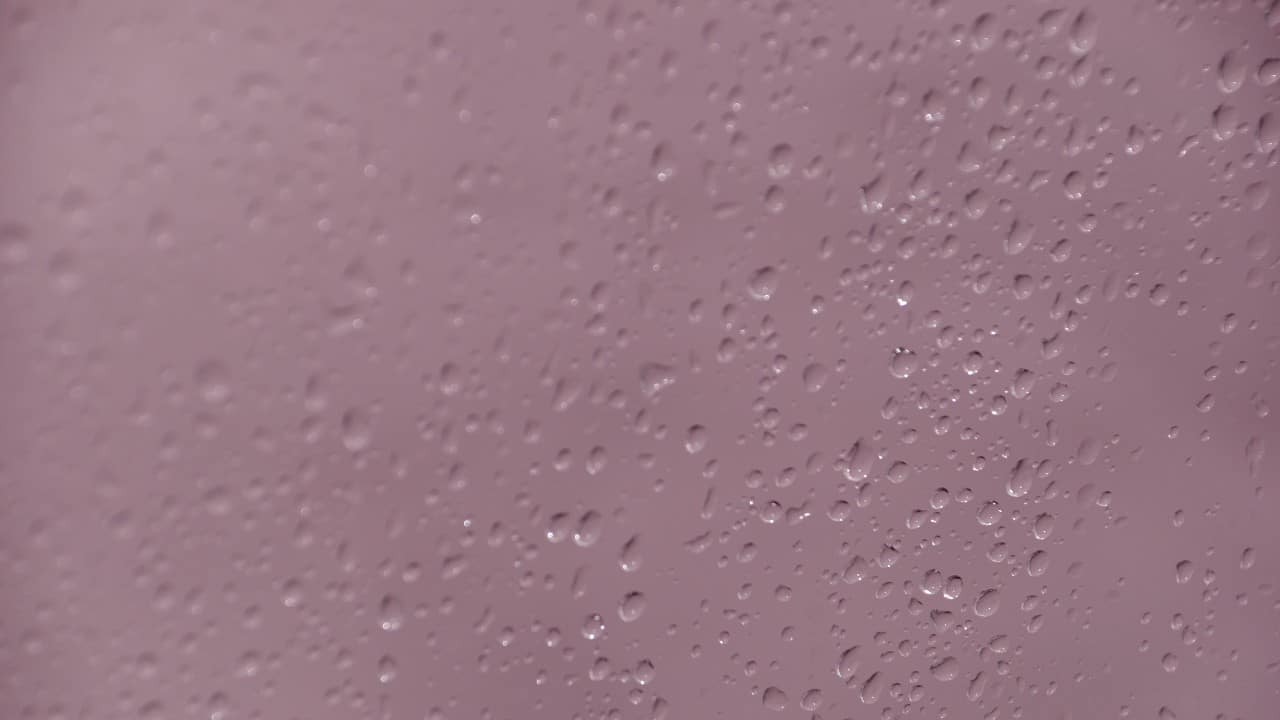
The leak is not always the actual problem. Sometimes, it can be condensation, which is typically generated by the moist, hot air coming into contact with the bathroom vent pipe.
As the process of condensation occurs, the water slowly collects on the vent’s metal pipe, and then gravity pulls it down and causes it to leak from the exhaust fan.
If the water drips from the bathroom exhaust fan every time you take a warm shower, you’re probably dealing with the condensation problem. Read our post on bathroom fan condensation for more information.
2. Water Accumulation on the Roof
Another thing that can cause a bathroom exhaust fan to leak is a buildup of water or snow on the roof.
After heavy rain, a puddle of water can form on the roof. This may very well be the reason why your bathroom exhaust fan is leaking only during heavy rainfalls but not during light showers.
Another thing that can cause this same issue is the melting of snow or ice on your roof, caused by a sudden rise in temperature.
3. Damaged or Loose Flashing
The metal on the vent cap’s base is called the flashing. The purpose of this part is to prevent water from going back into the bathroom exhaust fan from the exterior.
If this part is damaged or loose, the leak is probably coming from outside of the vent pipe.
4. Gaps in the Vent Cap
If it’s not of the right size or if it’s installed incorrectly, the vent cap may develop gaps that will allow water to get through and then drip down.
The vent cap typically has a seal around it, and if this part cracks due to everyday wear and tear, it can cause gaps (and therefore leaks) as well.
5. Damaged Vent Cap
This is a very common issue – a damaged or cracked vent can and will cause leaks by allowing water to get through.
Even the smallest, barely visible crack can be the culprit behind your problem.
How to Fix a Bathroom Exhaust Fan That Leaks When It Rains?
In this part of the article, I will take you through 10 simple steps that should help you take care of this issue and avoid having to spend thousands of dollars on fixing severe water damage.
1. Turn Off the Power
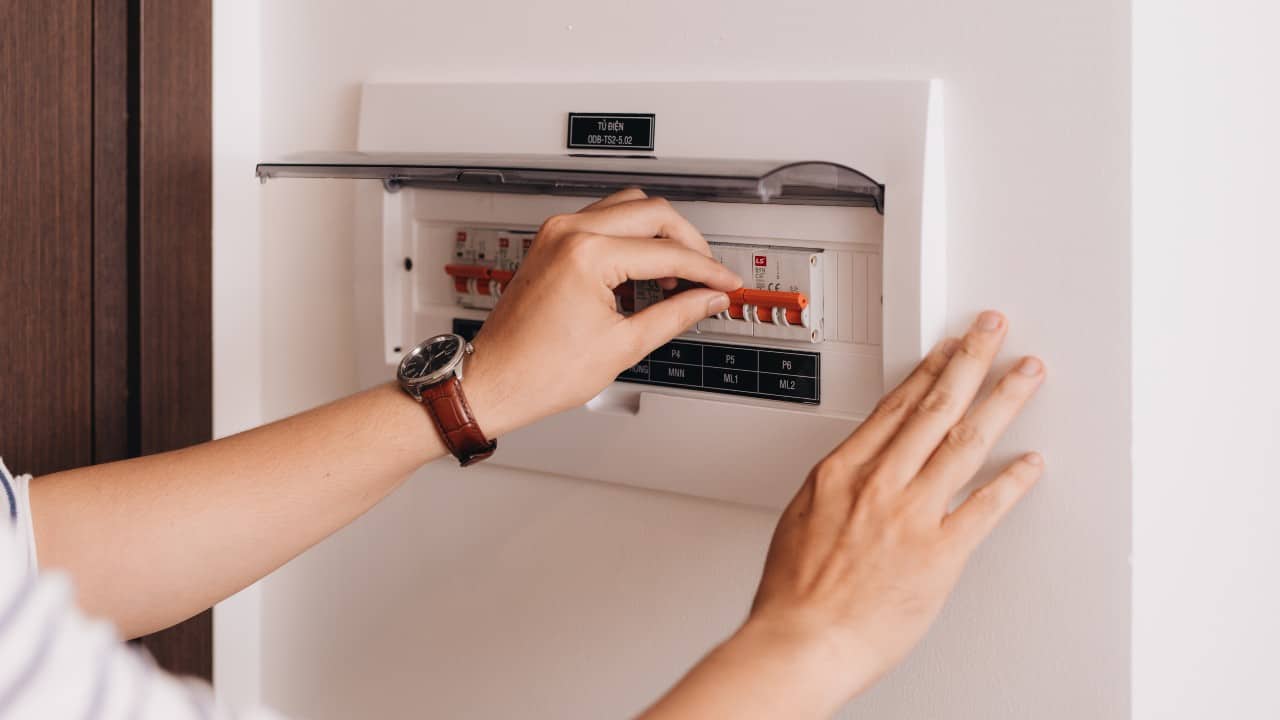
Obviously, the first thing you’ll want to do is turn off the electrical breaker. Do not attempt to do anything related to your bathroom exhaust fan before turning off the power – this is extremely important for your safety.
Before going to the bathroom, take a flashlight. You will need a source of illumination since you’ll probably be switching off the bathroom’s lighting too by turning off the corresponding breaker.
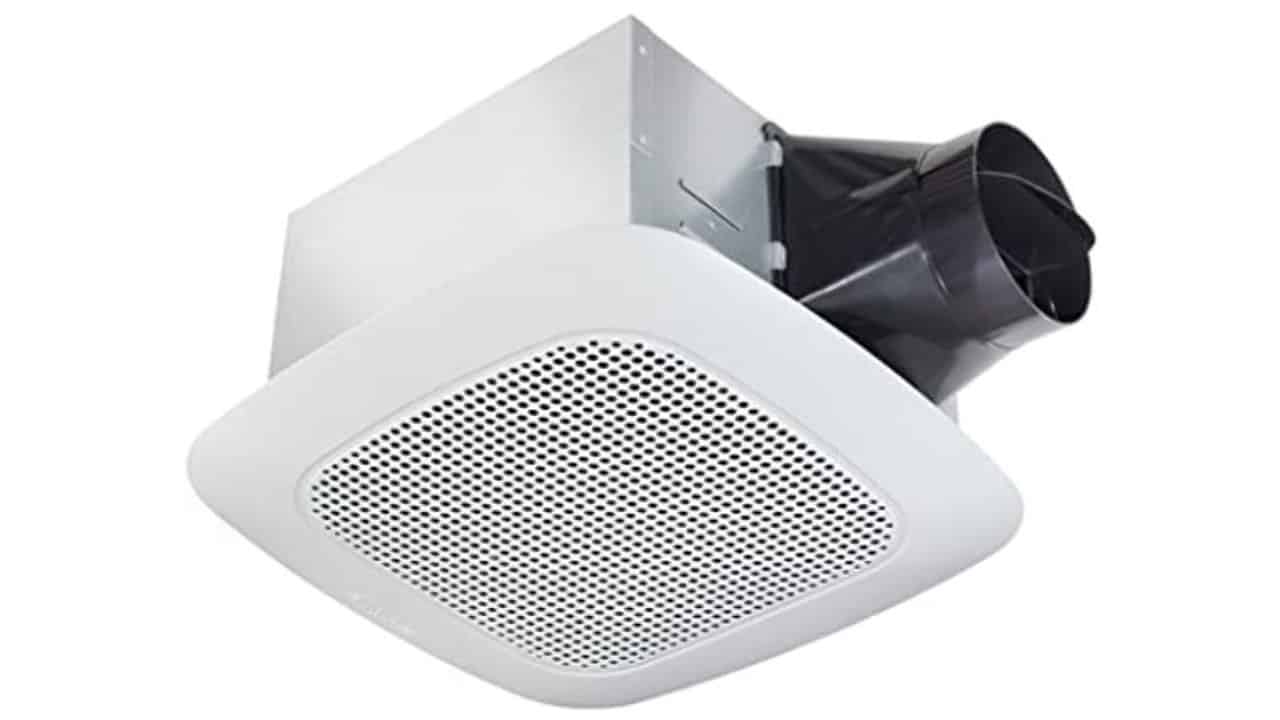
2. Examine the Cover and the Vent
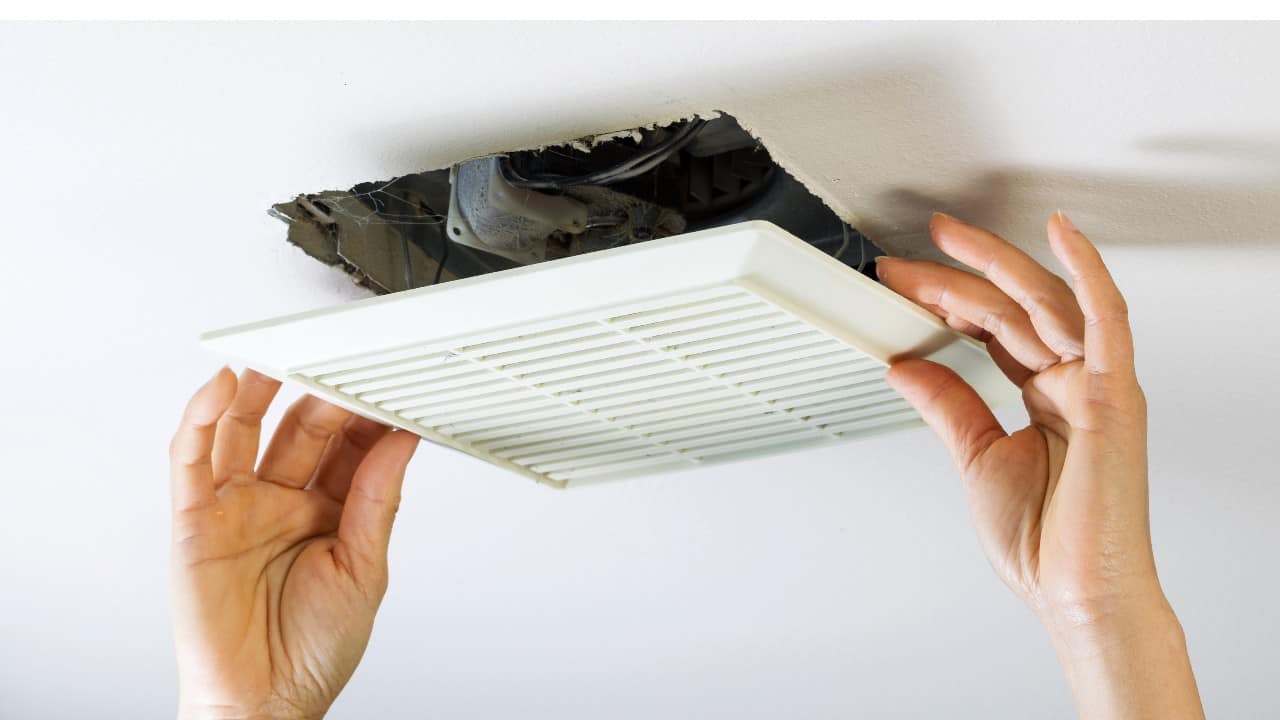
In case you’ve already determined why is your bathroom exhaust fan leaking, you’ll be able to easily solve that specific issue. If you’re not sure, however, the first thing you’ll want to do is check the cover and the vent in the bathroom.
To be able to take the cover down, use a screwdriver to unfasten the screws that are holding it in place. If it’s easier for you, you can do the bathroom exhaust fan inspection from the attic as well.
Examine the cover and the exhaust fan itself and look for signs of damage. As I said before, even a barely visible crack can cause issues.
Take a good look at the connection between the pipe and the exhaust fan and determine whether it’s worn and needs to be replaced. Are there any signs of corrosion on the exhaust fan itself? If so, you may have to replace it.
The same goes for the cover. Just replace it with a new one if it’s not in the best condition. Have no worries – these things need to be replaced every now and then anyway and they’re usually quite cheap. This guide to removing bathroom exhausts fans may also be helpful.
3. Check the Damper
Now that you’ve checked the exhaust fan and its cover, the next thing you’ll have to do is examine the damper.
If you don’t know what the damper is, it’s a valve whose purpose is to regulate the airflow. One of the most crucial things about this part is that it needs to have a closed position and an open position.
In case it gets stuck in one of these two positions – particularly the open position – it can play the main role in the problem of condensation and leakage.
A faulty damper needs to be immediately replaced if you want your bathroom exhaust fan to work as it should.
4. Secure the Vent Cover
If you’ve found no issues during your inspection of the bathroom exhaust fan and its cover, you can put the cover back into its place.
If you did find signs of damage, on the other hand, replace the fan – or its cover – with a new one.
Whatever the case, don’t turn on the power yet. There are a couple more checks you will need to carry out.
5. Go Into the Attic
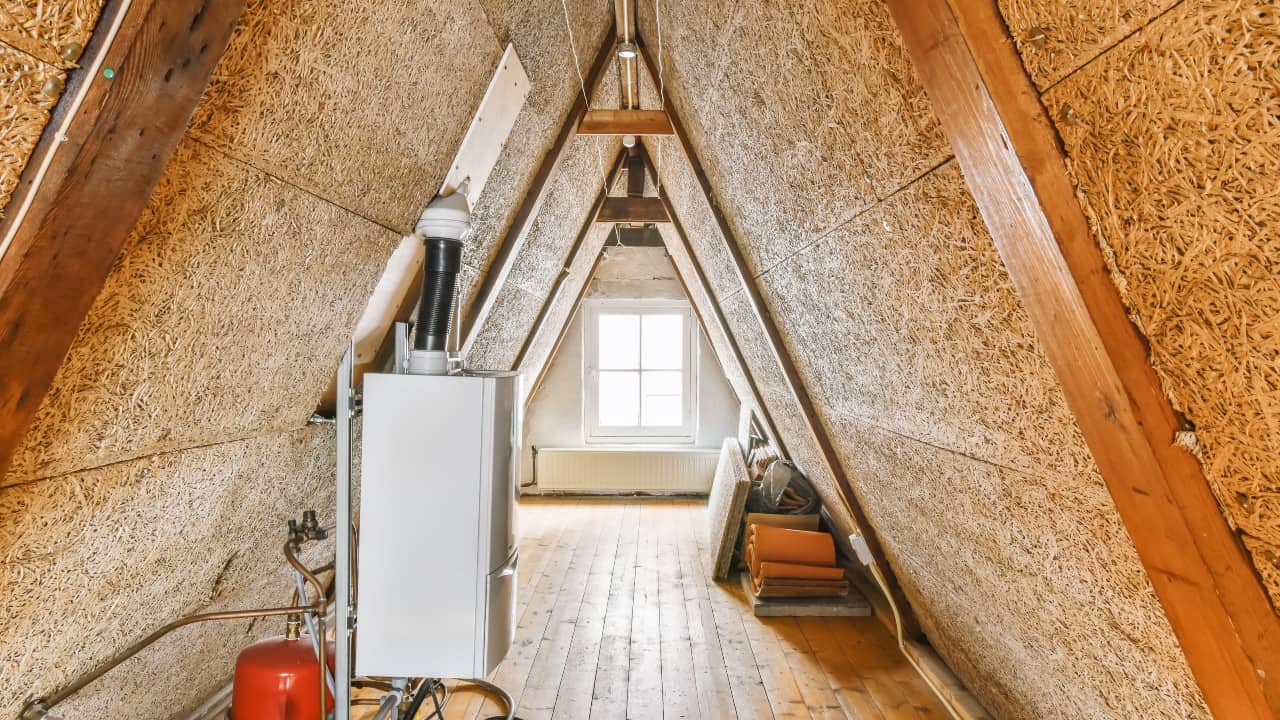
Once you climb up into the attic, go to the location of your vent and thoroughly examine its condition.
Check the surrounding area as well. If you notice a particularly damp area anywhere close to the vent, examine it thoroughly – it may be the origin of your leakage problem.
Keep in mind that there shouldn’t be any gaps around the pipe or the roof. A sign of light seeping through is an indication of a gap that could be the origin of your leakage issue.
6. Look for Water Damage Signs
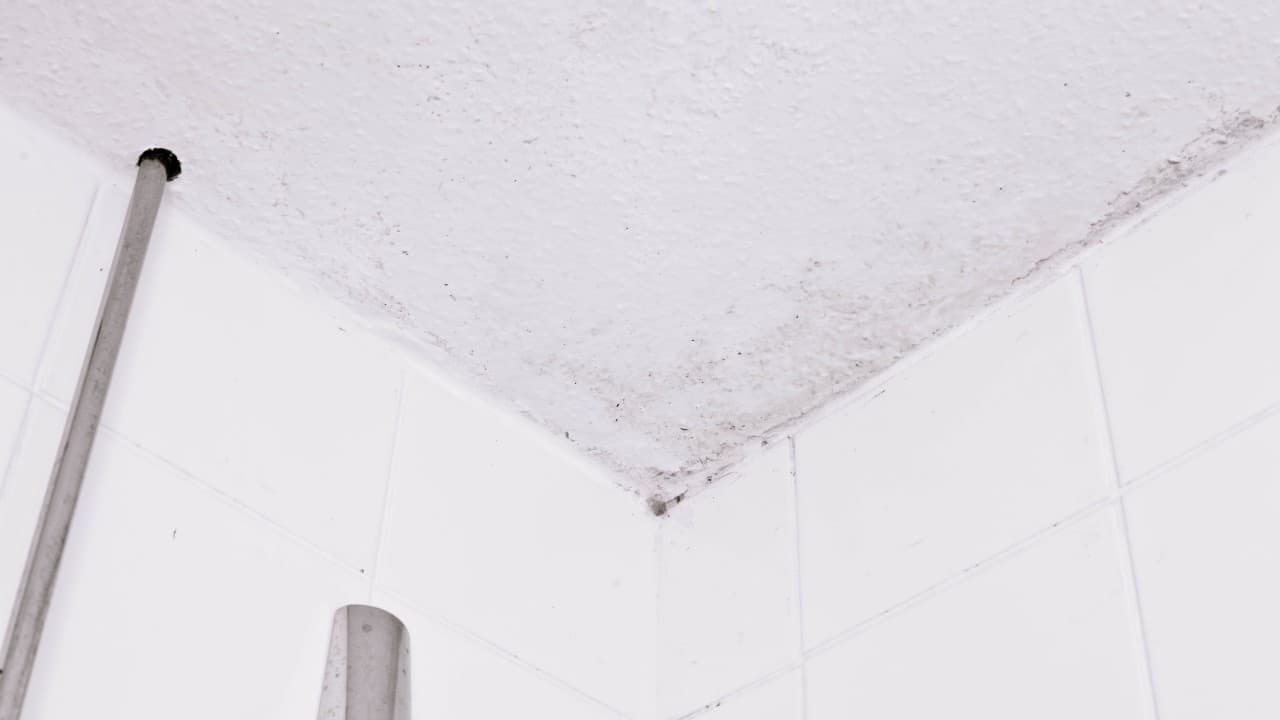
Due to the fact that water can come in from pretty much anywhere, paying a visit to the attic can assist you in determining the source of the issue. While there, look for the signs of water damage.
When I say water damage, I mean wet insulation, damaged framing or drywall, warped roof sheathing, as well as mold and mildew. Keep in mind that the damage caused by water is typically only visible if there was a leak for quite some time there.
If the water damage is present around the vent, for example, it could be because of damaged or loose vent flashing. If the water damage is present inside the vent, on the other hand, the leak is probably coming in through the roof.
After a thorough examination of the area, you should have a pretty good idea of what is the cause behind your leakage issue.
7. Insulate the Vent Pipe
There’s one more thing you could do before you leave the attic – vent pipe insulation.
As I explained above, one of the most common culprits behind a leaky bathroom exhaust fan is condensation. Occurring inside the vent pipe, condensation can cause water to drip.
If this is the cause of your issue, the problem will persist no matter the weather. In other words, your bathroom exhaust fan will keep leaking even when you’re just taking a shower.
The most common solution to this issue is wrapping the vent pipe with insulation (check out our guide to insulating bathroom exhaust vent ducts for more information). Doing this is much easier than it sounds and is bound to stop both the occurrence of condensation and the water dripping from the exhaust fan.
You can, of course, completely skip this step in case you’ve determined that condensation is not the culprit behind your problem.
In that case, you will have to climb up on your roof and examine the condition of the vent there. It goes without saying, but going to the roof is not a joke and should always be taken very seriously.
Find someone who will hold the ladder for you and be as careful as possible.
8. Examine the Roof Vent
Once you’ve determined that there’s nothing wrong with the vent pipe and the bathroom exhaust fan itself, you’re going to have to check the roof vent.
With the issue taking place during rainfall, there’s a good chance the roof is the location of your problem.
When it’s not installed correctly, the roof vent becomes prone to letting water leak into the pipes.
The problem can also lie in age-related wear and tear, as well as mold. These can significantly impact the flashing and the roof vent.
In case you determine that the roof vent is loose and insecure due to inadequate installation, your best bet is to simply hire a professional to fix this issue for you.
9. Check the Flashing
If there’s nothing wrong with the roof vent, make sure to thoroughly examine the flashing.
Made out of metal, the flashing is the part whose purpose is to prevent the water from reaching the attic through the aforementioned vent. It can be damaged, loose, or even completely absent.
Obviously, the damaged flashing has to be removed immediately. Buying new flashing to replace the damaged one is a cost-effective and long-term solution.
Once you’ve removed the old, damaged flashing, carefully put the new one into its position. It needs to be above the shingles situated below the vent pipe but underneath the roof shingles that are to the side and the top.
Also, it needs to snugly fit the vent pipe, so make sure to hammer it with nails into its position. In case your new flashing did not come together with nails, it’s important that you use nails made out of the same material as the flashing itself, in order to avoid corrosion problems.
If you think that replacing your fan would be the best solution after all, read out guide to the best bathroom fans with LED lights.
10. That’s It!
By now, you have thoroughly examined every part of your bathroom’s ventilation system. And since you’ve also replaced or repaired all damaged parts – or hired a professional to do that for you – the entire system should now be secure and watertight.
Having a bathroom exhaust fan that leaks every time it’s raining is something no homeowner has to experience. After all, this appliance is supposed to remove the moisture instead of being a source of it.
By following the steps described above, you should be able to quickly and easily take care of this issue.
If you need help with setting up everything, check out our guide on installing a bathroom fan roof vent as well.