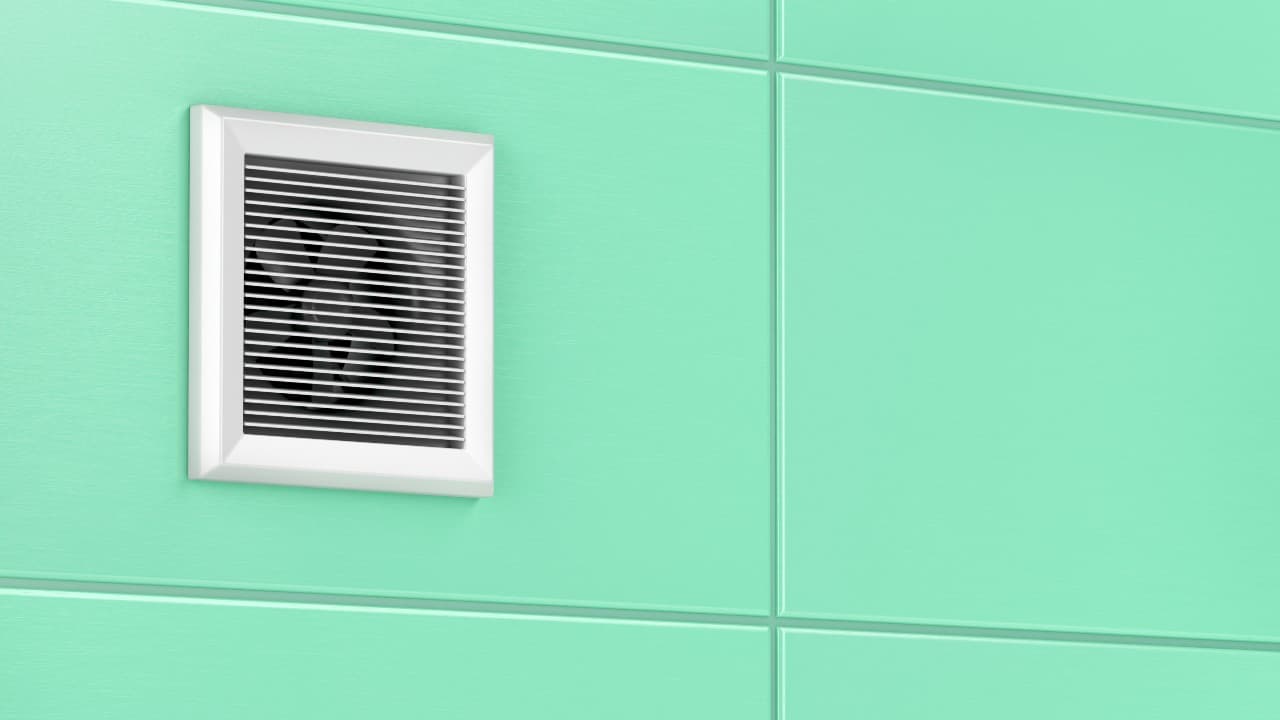
After a period of five to ten years, the motors inside the bathroom exhaust fans slow down. This typically occurs due to a buildup of gunk and can cause a complete burnout of the motor. To fix a bathroom exhaust fan that stopped working, or to make an old bath fan engine run like new, one simply has to apply some oil to the bearings.
If you’ve been thinking about doing this, you are in the right place. In this guide, I will take you through 9 simple steps that will help you bring your old bathroom exhaust fan to life and make it perform efficiently as it once did.
Contents
The Introduction
As mentioned above, one of the easiest ways to increase the performance of an older bathroom exhaust fan is by oiling it.
However, an important thing to mention here is that a lot of newer appliances of this type come equipped with permanently lubricated engines. This means that many of them do not have oil ports (holes for adding oil).
Furthermore, trying to oil a permanently lubricated fan engine won’t only void the warranty, but also possibly damage the engine. Use your best judgment.
Step #1 – Turn Off the Power
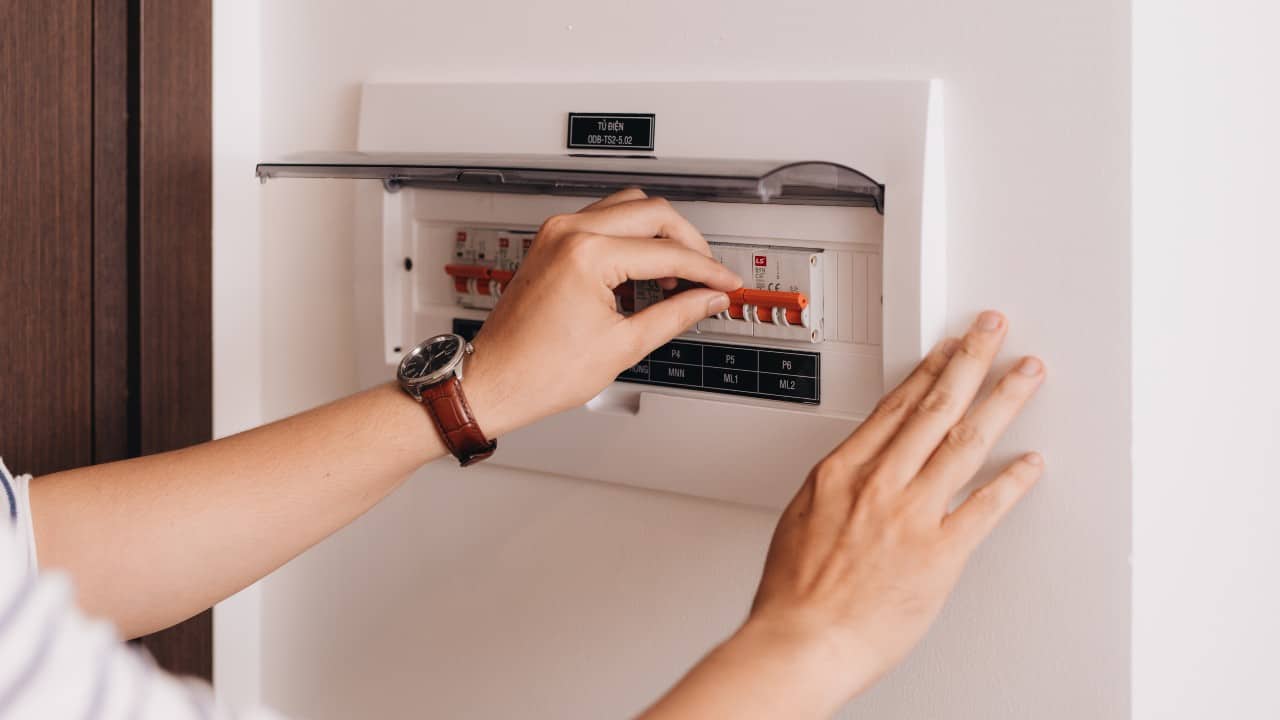
As always, the first thing you’ll want to do is ensure your safety by shutting off the power to the bathroom. Do this by going to the panel box, locating the correct breaker, and flipping it.
To be able to properly oil the motor of the bathroom exhaust fan, you will have to take the whole appliance down from the ceiling. And since this cannot be done without undoing the wiring, it is extremely important that you shut down the power first.
To be absolutely sure that there’s no electricity in the bathroom, try flipping the fan’s wall switch. It goes without saying, but if the appliance doesn’t turn on, then the power is genuinely off and you can proceed to the next step.
One other thing you could do here is use a non-contact voltage tester. Touch the wiring with this tool to be completely sure it’s free of electricity.
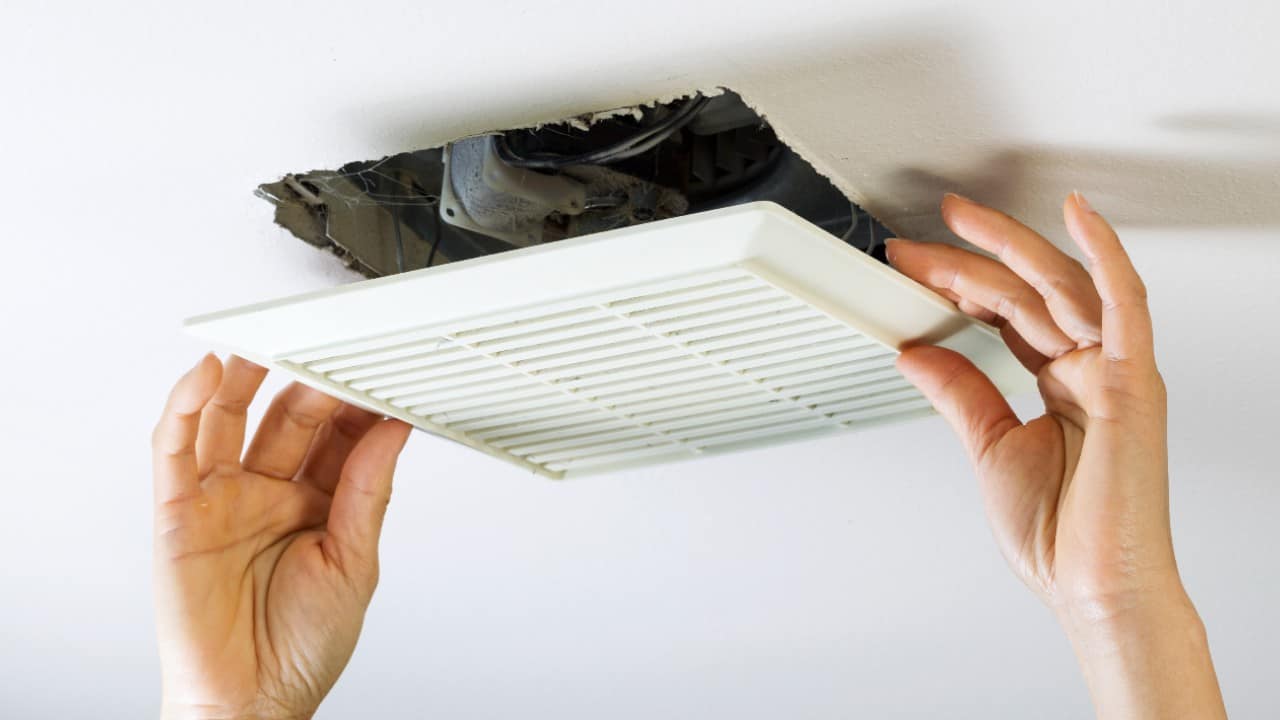
Step #2 – Remove the Cover
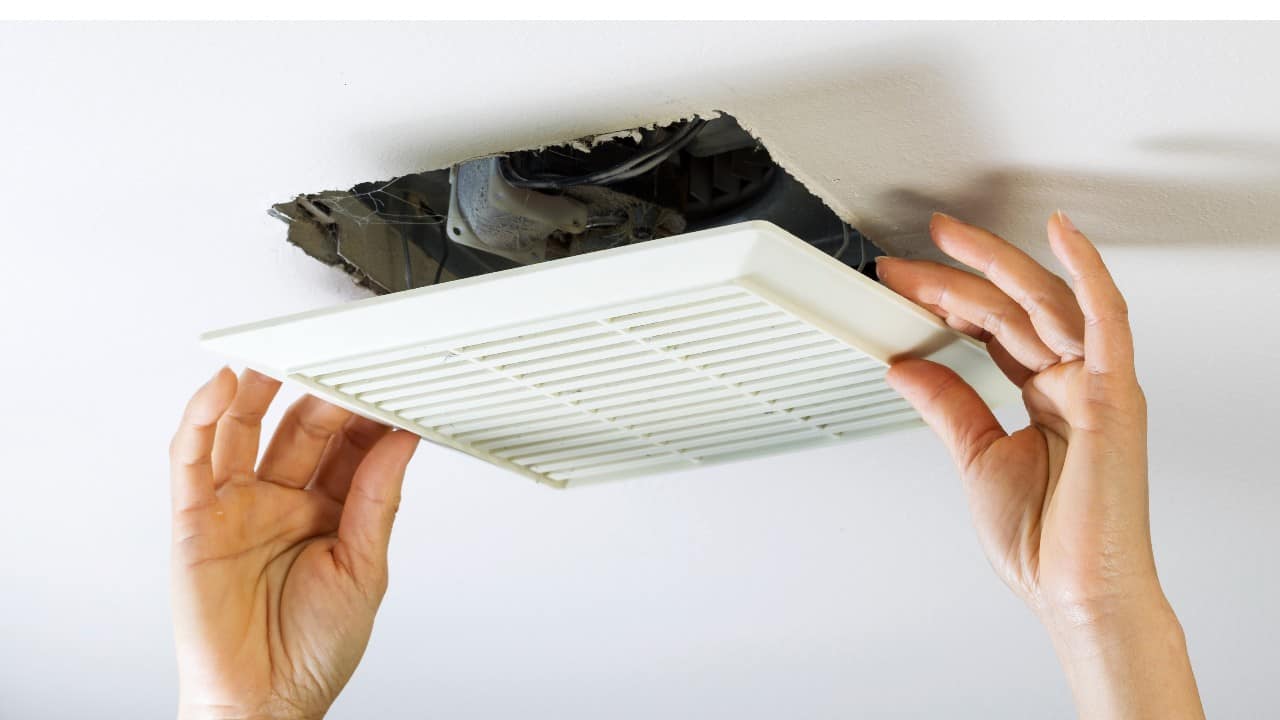
The next thing you’ll have to do is remove the bathroom exhaust fan cover.
Do this by pulling it down for a couple of inches until you start feeling some resistance. Once the cover is about 1-3” away from the ceiling, you will notice that there are two metal clips holding it in place.
In order to detach the cover from the housing, squeeze these metal clips together with your hands.
Check out this post if your bathroom fan is leaking when it rains.
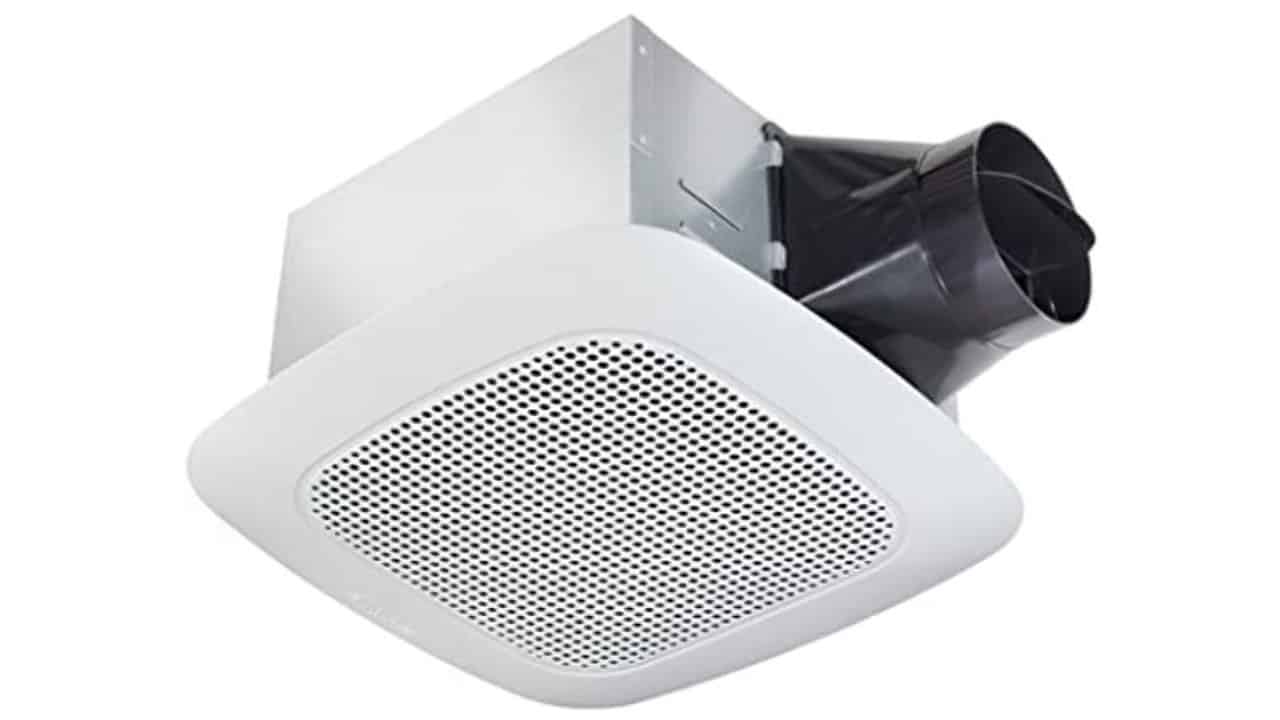
Step #3 – Remove the Fan Assembly
Now that the cover is down, it’s time to remove the fan assembly. Doing so will give you access to the motor of the appliance.
In most cases, the motor and the fan assembly are clipped into the housing, which is then mounted on the ceiling.
To remove the fan assembly, you will most likely have to unfasten a couple of screws and detach one or two clips.
Step #4 – Unplug the Motor & Undo the Wiring
With the popular models from Broan-NuTone’s 600 series being the best example, older bathroom exhaust fans often come with actual plugs that you need to plug into an outlet located in the fan assembly.
If this is the case with your model, you will simply have to pull out this electrical plug before removing the fan assembly. If not, just pull out the assembly itself.
The next thing you’ll have to do is undo the electrical wiring. I would recommend taking a piece of paper and noting down which wire connects to which. For a basic bathroom exhaust fan, it’s usually white to white and black to black, and the green wire for grounding.
Step #5 – Disassemble the Fan Blade & the Motor
Before you can properly clean the motor and oil the bearings, you will have to disassemble the fan blades and the motor from the metal frame.
Here, I would recommend taking a few photos with your cellphone – these will come in very handy when it comes to putting the whole thing back together later.
When it comes to older bathroom fans, detaching the fan blades is as simple as twisting and pulling them out. Your particular model may or may not have a clip that holds the blades in place.
Once you’ve removed the fan blade, remove the bolts and the bearings. Before the actual oiling, it would be a good idea to clean the fan blades, the cover, as well as the motor itself.
Step #6 – Clean the Motor, Cover & Bearing
When it’s not properly maintained, i.e. when it’s dirty and full of gunk, a bathroom exhaust fan won’t suck the air in.
One cannot expect the advertised performance from a fan that is lodged with lint and debris. Also, dirty bathroom exhaust fans overheat quicker and are much more susceptible to catching fire.
For that matter, it is very important to thoroughly clean every component of your fan.
When it comes to oiling this appliance, one of the most common mistakes homeowners make is oiling it right away. While you may be keen to finish the task as soon as possible, a better idea would be to take a step back and meticulously clean each of the components.
And to do this in a proper way, use a handheld vacuum cleaner and a sturdy toothbrush. These will allow you to rigorously clean every part of the fan without accidentally damaging anything at the same time. Wash the blade separately with soap.
Pay special attention to the shaft that is holding the motor. A lot of people forget to rinse this part, even though it needs to be thoroughly cleaned just like every other component.
Once you’re done with the scrubbing, organize the fan parts. In other words, lay them down and ensure that all sides of each component can be properly oiled.
Step #7 – Apply Oil to Bearing
This is where we come to the most important step – oiling the bathroom exhaust fan.
A common mistake most homeowners make during this step is lubricating only the shaft of the motor – and nothing else. While this is certainly going to help the exhaust fan perform better, it will do so for only about a week.
In order to properly complete this job, one has to oil the wick bearing.
To reach the wick bearing, you will have to remove the fan motor’s shaft. Once you do so, you will notice a kind of fuzzy material sticking out, and this is the part that you need to oil. In case there’s a lot of lint and gunk on the bearing, take some Q-tips and clean it thoroughly before adding oil.
Another thing you can do here is using a carb cleaner, which is available in the form of a spray can. Take the motor of the bathroom exhaust fan outside and spray it with your carb cleaner. Do not oil the motor before it’s completely dry.
Your particular model may also have an oil port. This will look like a simple round hole that you can add oil to. In any case, the main thing you need to pay attention to is the condition of the bearing – it needs to be as clean as possible before you add a teaspoon of oil to it.
Step #8 – Align the Shaft
Once you have successfully reassembled the fan’s engine, you’ll be able to realign the shaft.
One important thing to keep in mind here is that the bearings are flexible. For that matter, once you have reassembled the engine, you will have to take a screwdriver and carefully tap on the shaft with it in every direction.
In order for the shaft to be able to spin freely, twist it, and then once again tap it with a screwdriver in all directions. It’s very important to ensure that the shaft can spin freely before you put the bathroom exhaust fan back into its place.
Step #9 – Reinstall the Exhaust Fan
After oiling the bearing and realigning the shaft, all that’s left to do is to mount the bathroom exhaust fan back to the ceiling.
Re-do the electrical wiring, screw the appliance back into its housing, and then simply go to your panel box and flip the bathroom breaker. Check if everything is working correctly. For more information, check out our post on how to remove a bathroom fan.
The Takeaway
Oiling a bathroom exhaust fan in a proper way can be a somewhat tricky task to complete. That is precisely why a lot of homeowners choose to just not do it at all, allowing the issue to persist for years until the fan stops working.
One really important thing you need to understand here is that choosing not to oil this appliance won’t only decrease its performance but also turn it into a safety hazard. It will overheat more quickly, which can, obviously, lead to a fire.
By following the steps described above, you should be able to properly oil your bathroom exhaust fan and keep it in good – and safe – working condition.
You may also want to check out our guide on how to insulate bathroom fan ducts. And, if you think that standard bathroom fans are too big of a hassle, check out our pick for the best ductless bathroom exhaust fan.