Rare are the things that can be as frustrating as water leaks and other problems caused by bathroom fan ducts. What is more, diagnosing these kinds of issues can be quite tough.
This is mostly due to the fact that a vast majority of homeowners never even think that considerable water damage can be caused by something as simple as condensation.
But it undoubtedly can! In fact, if you have a duct running through an uninsulated, unconditioned attic, your entire garage could end up covered in mold. And that’s just one example of a problem caused by uninsulated bathroom exhaust fan ducts.
Have no worries – I’m here to help you out. In this article, I’ll go over:
- The reasons why it’s recommended to use pre-insulated bathroom ducts
- How can you, as a homeowner, insulate your already-existing ducts
- How to make a sort of “insulation box” around the housing of the bath fan
- How to insulate the exterior duct collar with spray foam insulation
I invite you to also read my article on venting a bathroom fan into an attic as well as my roundup of the market’s best bathroom exhaust fans.
Contents
Duct Issues In Unconditioned Spaces
A sure way to end up with serious wall damage or mold growth problems is to have your bathroom ducts run through unconditioned spaces.
Let me give you a very simple example of why this happens. Whenever you take a glass of cold juice outside on a hot summer day, you are bound to see water beads forming on the exterior of the glass.
This takes place whenever a cold glass comes into contact with the hot air. What is more, the same thing will occur if you take a cup of hot coffee outside on a cold winter day.
So, if a bathroom vent pipe goes through an unconditioned space – like the attic, unfinished basement, or a humid crawlspace – it will almost certainly develop water droplets or condensation. There’s just no way around it.
One extremely big problem here is that water forming inside the aforementioned pipe can even lead to serious clogging issues. Whenever water forms on the inside of a bathroom vent pipe, it will do so in the duct’s “low areas”.
As you can already guess, this typically causes the duct to bend even more, which can lead to either partial or complete blockage of the airflow. The worst thing that can happen is the formation of an ice mass, which is something that does happen when an uninsulated duct is exposed to freezing temperatures.
So, if your duct runs through any kind of unconditioned area, you will have to insulate it and, in that way, minimize condensation and keep the potential problems at bay.
Check out this guide if you are wondering what is the bathroom fan used for. And be sure to check out this post if you are yet to buy a fan, and wondering how much does it cost to install a bathroom fan.
Solution #1 – Use a Pre-Wrapped Insulated Duct

Fortunately for those who don’t consider themselves to be very good when it comes to the DIY stuff, there’s an easy solution to this problem. And it’s as simple as using a pre-wrapped insulated duct to replace the uninsulated one running through an unconditioned area.
The standard length of these insulated ducts is 25 feet and most have 3-6” diameters (you can, however, purchase longer and wider ducts if needed). They are usually wrapped in 1-2” of rock wool or fiberglass insulation and are very flexible.
Insulating the duct on your own can be quite a chore, so going with pre-wrapped vent pipes instead is the best option for those who want to save themselves the hassle. Here, it all boils down to removing your existing duct and replacing it with a new, pre-wrapped one.
Solution #2 – Wrap the Duct On Your Own
There are several reasons why you may want to consider wrapping the duct in insulation by yourself instead of replacing it with a pre-wrapped one.
For example, not everybody has flexible vents. Some homeowners have high-quality metal ducts that are more rigid and, therefore, more durable than flexible ones. What is more, most ducts of this type don’t have ridges that can slow down the airflow (they are “smooth-walled”).
The easiest way to go about insulating such a duct is to simply remove it, wrap it in insulation, and then just put it back into its place. Sometimes, it is possible to do the wrapping without having to remove the duct, but this usually depends on the number of obstructions and the duct’s location.
Besides preventing condensation, another thing you could do here is to enhance the thermal performance of your duct. Do this by sealing it with a sealant and tape before wrapping it in insulation.Here’s a step-by-step guide on how to do both of these things:
Step #1 – Tape the Seam
After removing the metal vent pipe, I would recommend taking some drywall tape and carefully sealing the lengthwise seam of the duct.
Doing this before actually wrapping the duct with insulation, i.e. while you still have complete access, is bound to make the duct even more resistant to potential condensation issues.
Those who have no other choice but to take the metal vent sections apart could have trouble with putting them back together later. That’s why I would recommend not covering a few inches with tape on both ends of each section.
But if you can remove the entire duct altogether – that is, in one piece – you’ll be able to tape its seam in just one step. Using drywall tape before applying the sealant is bound to make the seal considerably stronger.
Check out this post if your bathroom exhaust fan leaks when it rains.
Step #2 – Apply the Duct Sealant

Photo by Hardcast via Flickr (CC BY 2.0)
Once you’ve completed the first step, you’ll have to take some mastic or duct sealant and then apply it to the seam that is now covered with drywall tape.
Keep applying mastic or duct sealant all the way until the drywall tape becomes invisible. The easiest way to do this is by using a cheap 3” paintbrush.
Once you’ve managed to completely cover the taped seam with an adhesive of your choice, you can move on to the next step – insulating the duct. There is no need to wait for the sealant to dry off.
We also recommend reading our guide on how to lubricate a bathroom exhaust fan.
Step #3 – Wrap the Duct With Insulation
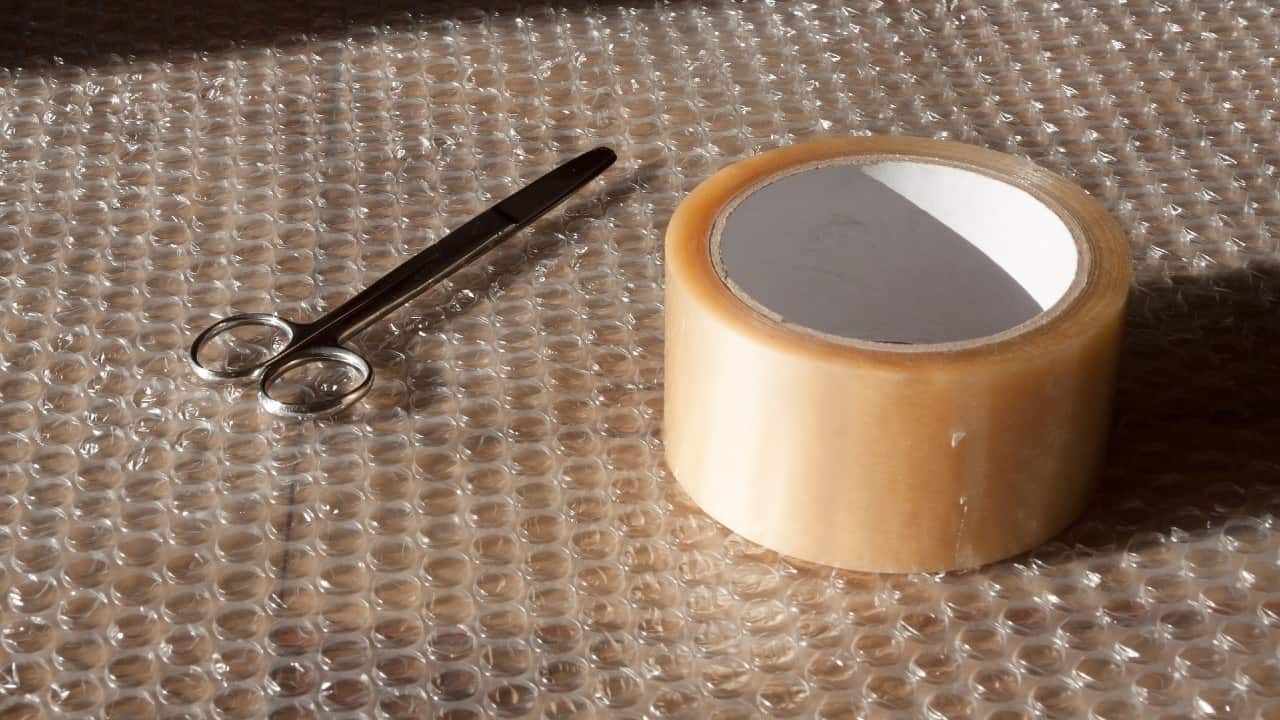
This is where we come to the most important part. Put your fiberglass insulation down on the floor and then place the vent duct in the middle of it. Once you’ve done that, simply wrap the vent with it and make sure that a couple of inches of insulation are overlapping.
Another thing you’ll have to do here is to make sure that the duct’s ends – the parts that are going to be connected to the exterior hood and the bath fan – are not covered by insulation. Failing to do so can make re-connecting the duct unnecessarily difficult.
The next you’ll have to do is staple the insulation together with a staple gun. To it at several spots along the duct. After that, take some aluminum tape and use it to tape the seam of the insulation. To this directly over the sealant.
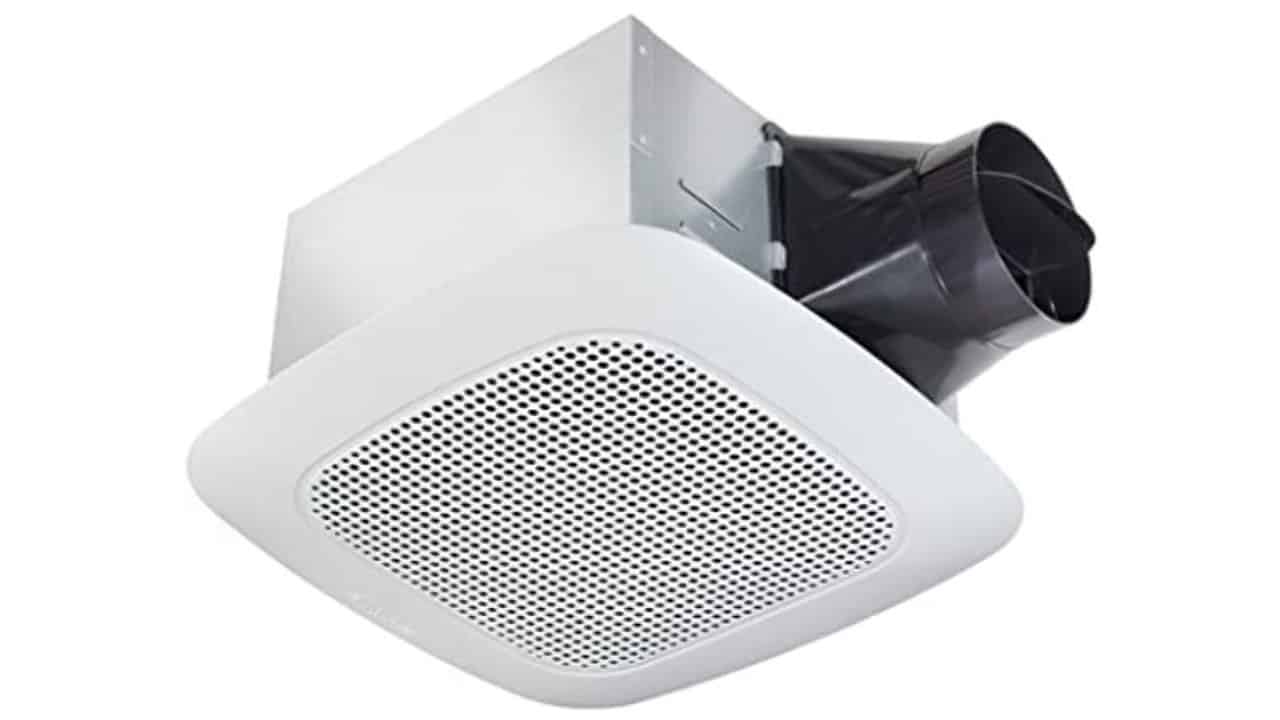
Make an “Insulation Box” For Your Bathroom Fan
Besides preventing condensation issues by wrapping the duct with insulation, one other thing you could do is make a simple but very useful “insulation box”. You will use this box to cover the housing of your bathroom fan.
The easiest way to create something like this is by taping together the edges of foam insulation boards with some aluminum tape. After you’ve made this box, simply place it over the housing of your bathroom fan.
Don’t forget to create a hole for the duct, though. Also, you can use the aforementioned aluminum tape to tape this box to a drywall ceiling.
Before you insulate your bathroom fan, don’t forget to check the bathroom exhaust fan venting code.
Insulate the Collar with Spray Foam Insulation
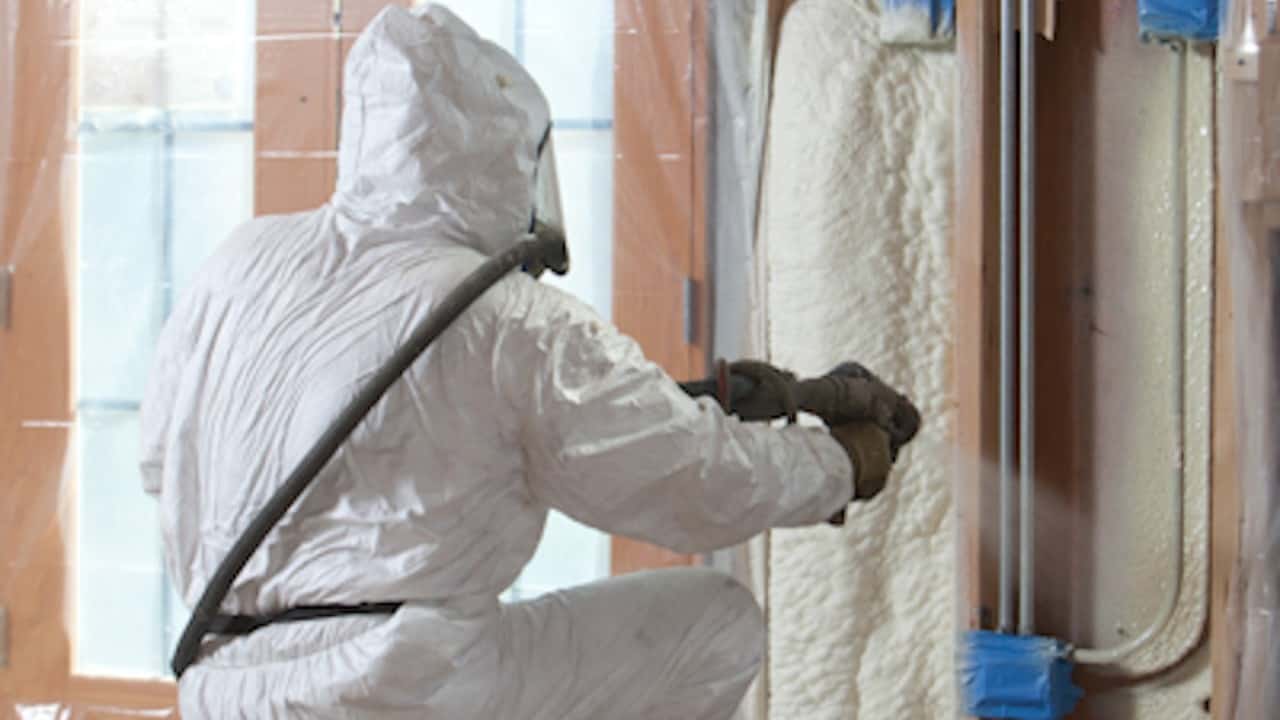
Photo by Chicagosprayfoam via Wikimedia Commons (CC BY-SA 3.0)
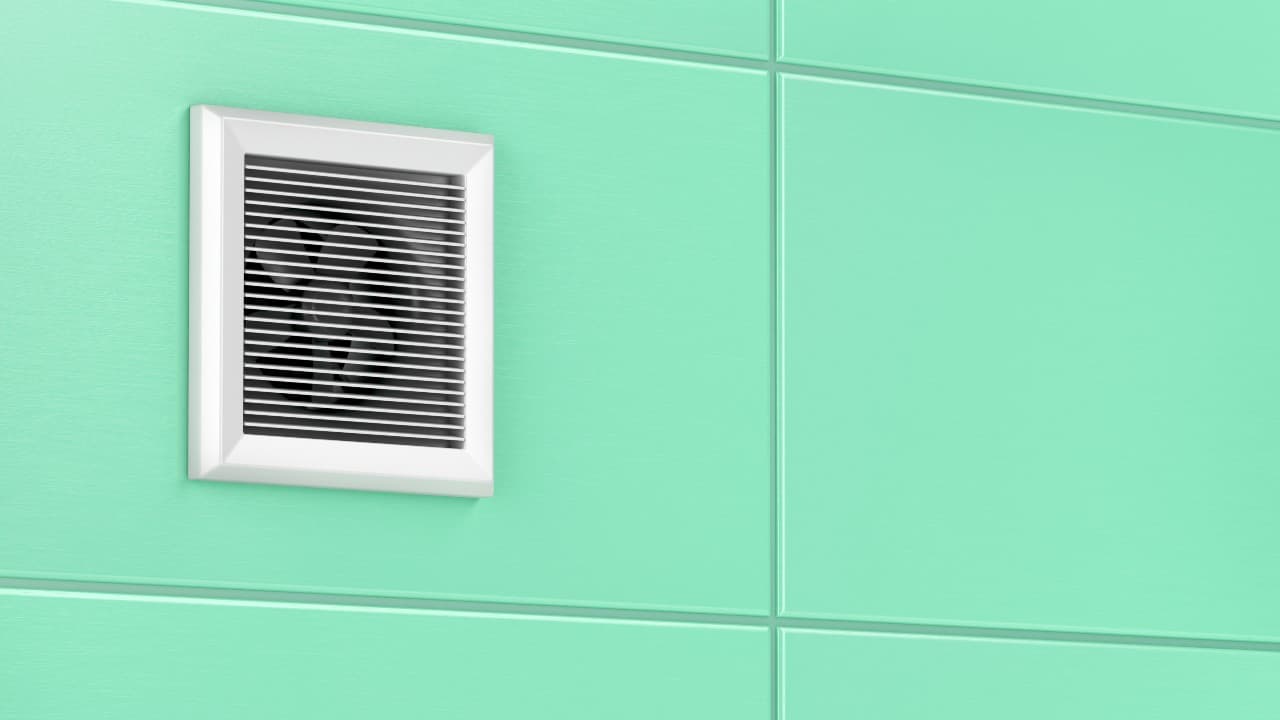
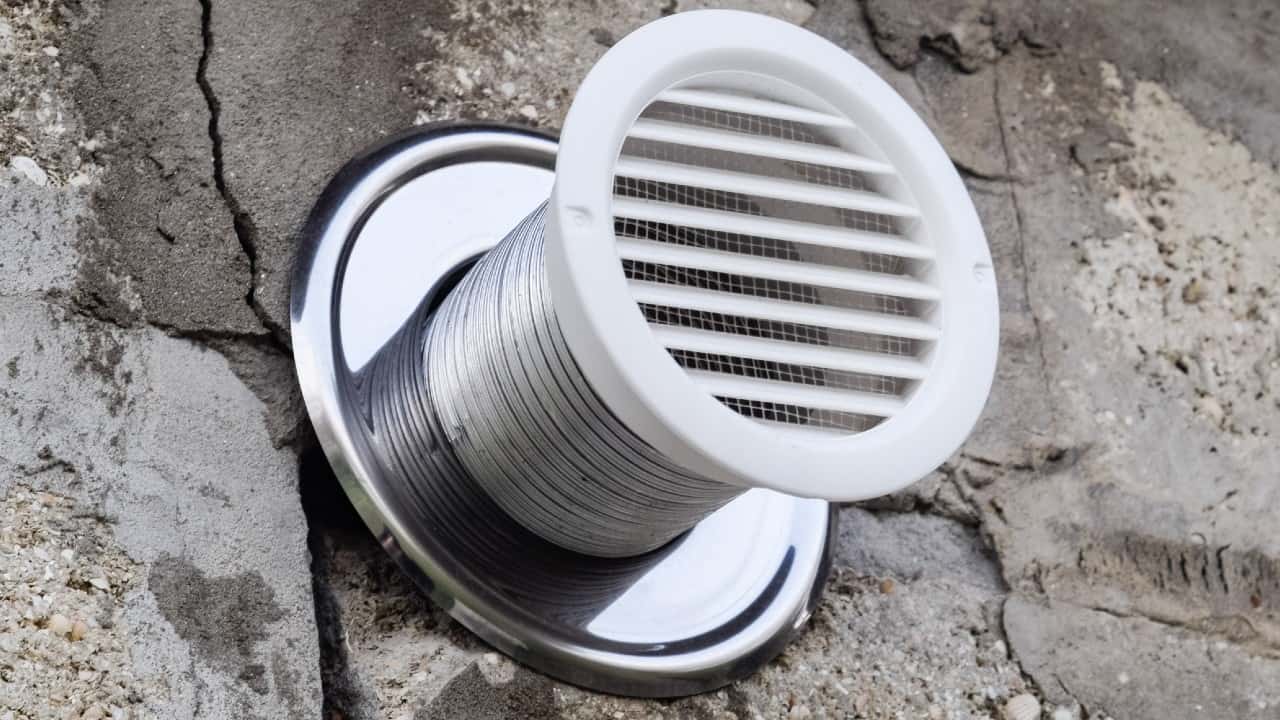
There is one other place where you could add some insulation. This would be the collar of the exterior vent hood. If you don’t know what this is, it’s the metal sleeve (typically one foot long) that comes directly out of the exterior vent hood.
One particular situation in which insulating this area is very important is when the vent is located in the basement. Fortunately, insulating the collar is as easy as it gets – all you need is to use a can of spray foam insulation.
The Takeaway
So, there you have it – do all of these things described above and you should have no duct-related issues with water leaks, mold growth, or blocked airflow.
Also, keep in mind that fiberglass can be harmful to your lungs and skin. Therefore, be cautious while handling insulation made out of this material and exercise safety at all times.
Check out our guide on how to replace a bathroom fan without attic access and our guide on how to clean a bathroom exhaust fan as well.